
This post has really not too much to do with TwinCAT, at least not directly. Instead, this post will be about a computer that’s close to my heart. So, despite not being directly related to TwinCAT, it’s about the computer which started my interest in software engineering, and ultimately led me to where I am today, therefore this post. The Commodore 64 was my first computer. The first version was released the same year I was born. Rewind the time back to the mid 80s, and this was the computer that everyone had back in those days. It was a fantastic machine back then. 1MHz clock frequency, amazing video-graphics, a whopping 64K of user RAM (hence the name) and fantastic sound (provided by the SID-chip). Despite the limited performance when judged by today standards, people were doing amazing stuff with it. The game and demo-scene was flourishing.
The C64 we had in our family is long gone, as it later became replaced by a C128D, then an Amiga 500 and then it was all IBM-compatible PCs until this day, starting with a 486 DX2-66MHz. Recently I came across a bunch of C64s for a decent price. They were all in pretty bad shape and the seller didn’t know whether they were working or not. The seller basically had them laying around in the attic, and they hadn’t been touched in 25 years or so. I received them in paper bags, together with the dust they had accumulated over the years. Now, although the C64s are long gone out of production, there is still an active scene around them with people doing their very best to maintain as many working examples as possible. The demo-scene and game development is still also active. I decided I wanted to do my part of keeping a set of these machines in a working state, so I decided I’ll start with the renovation of two C64s.
One of them started on first boot-up, whilst the other one didn’t work. I was lucky as after opening and inspection, I immediately saw that the fuse was broken. Replacing the fuse made the C64 boot.
This is how one of them looked like when I first got it, and this is after an initial cleaning of it.
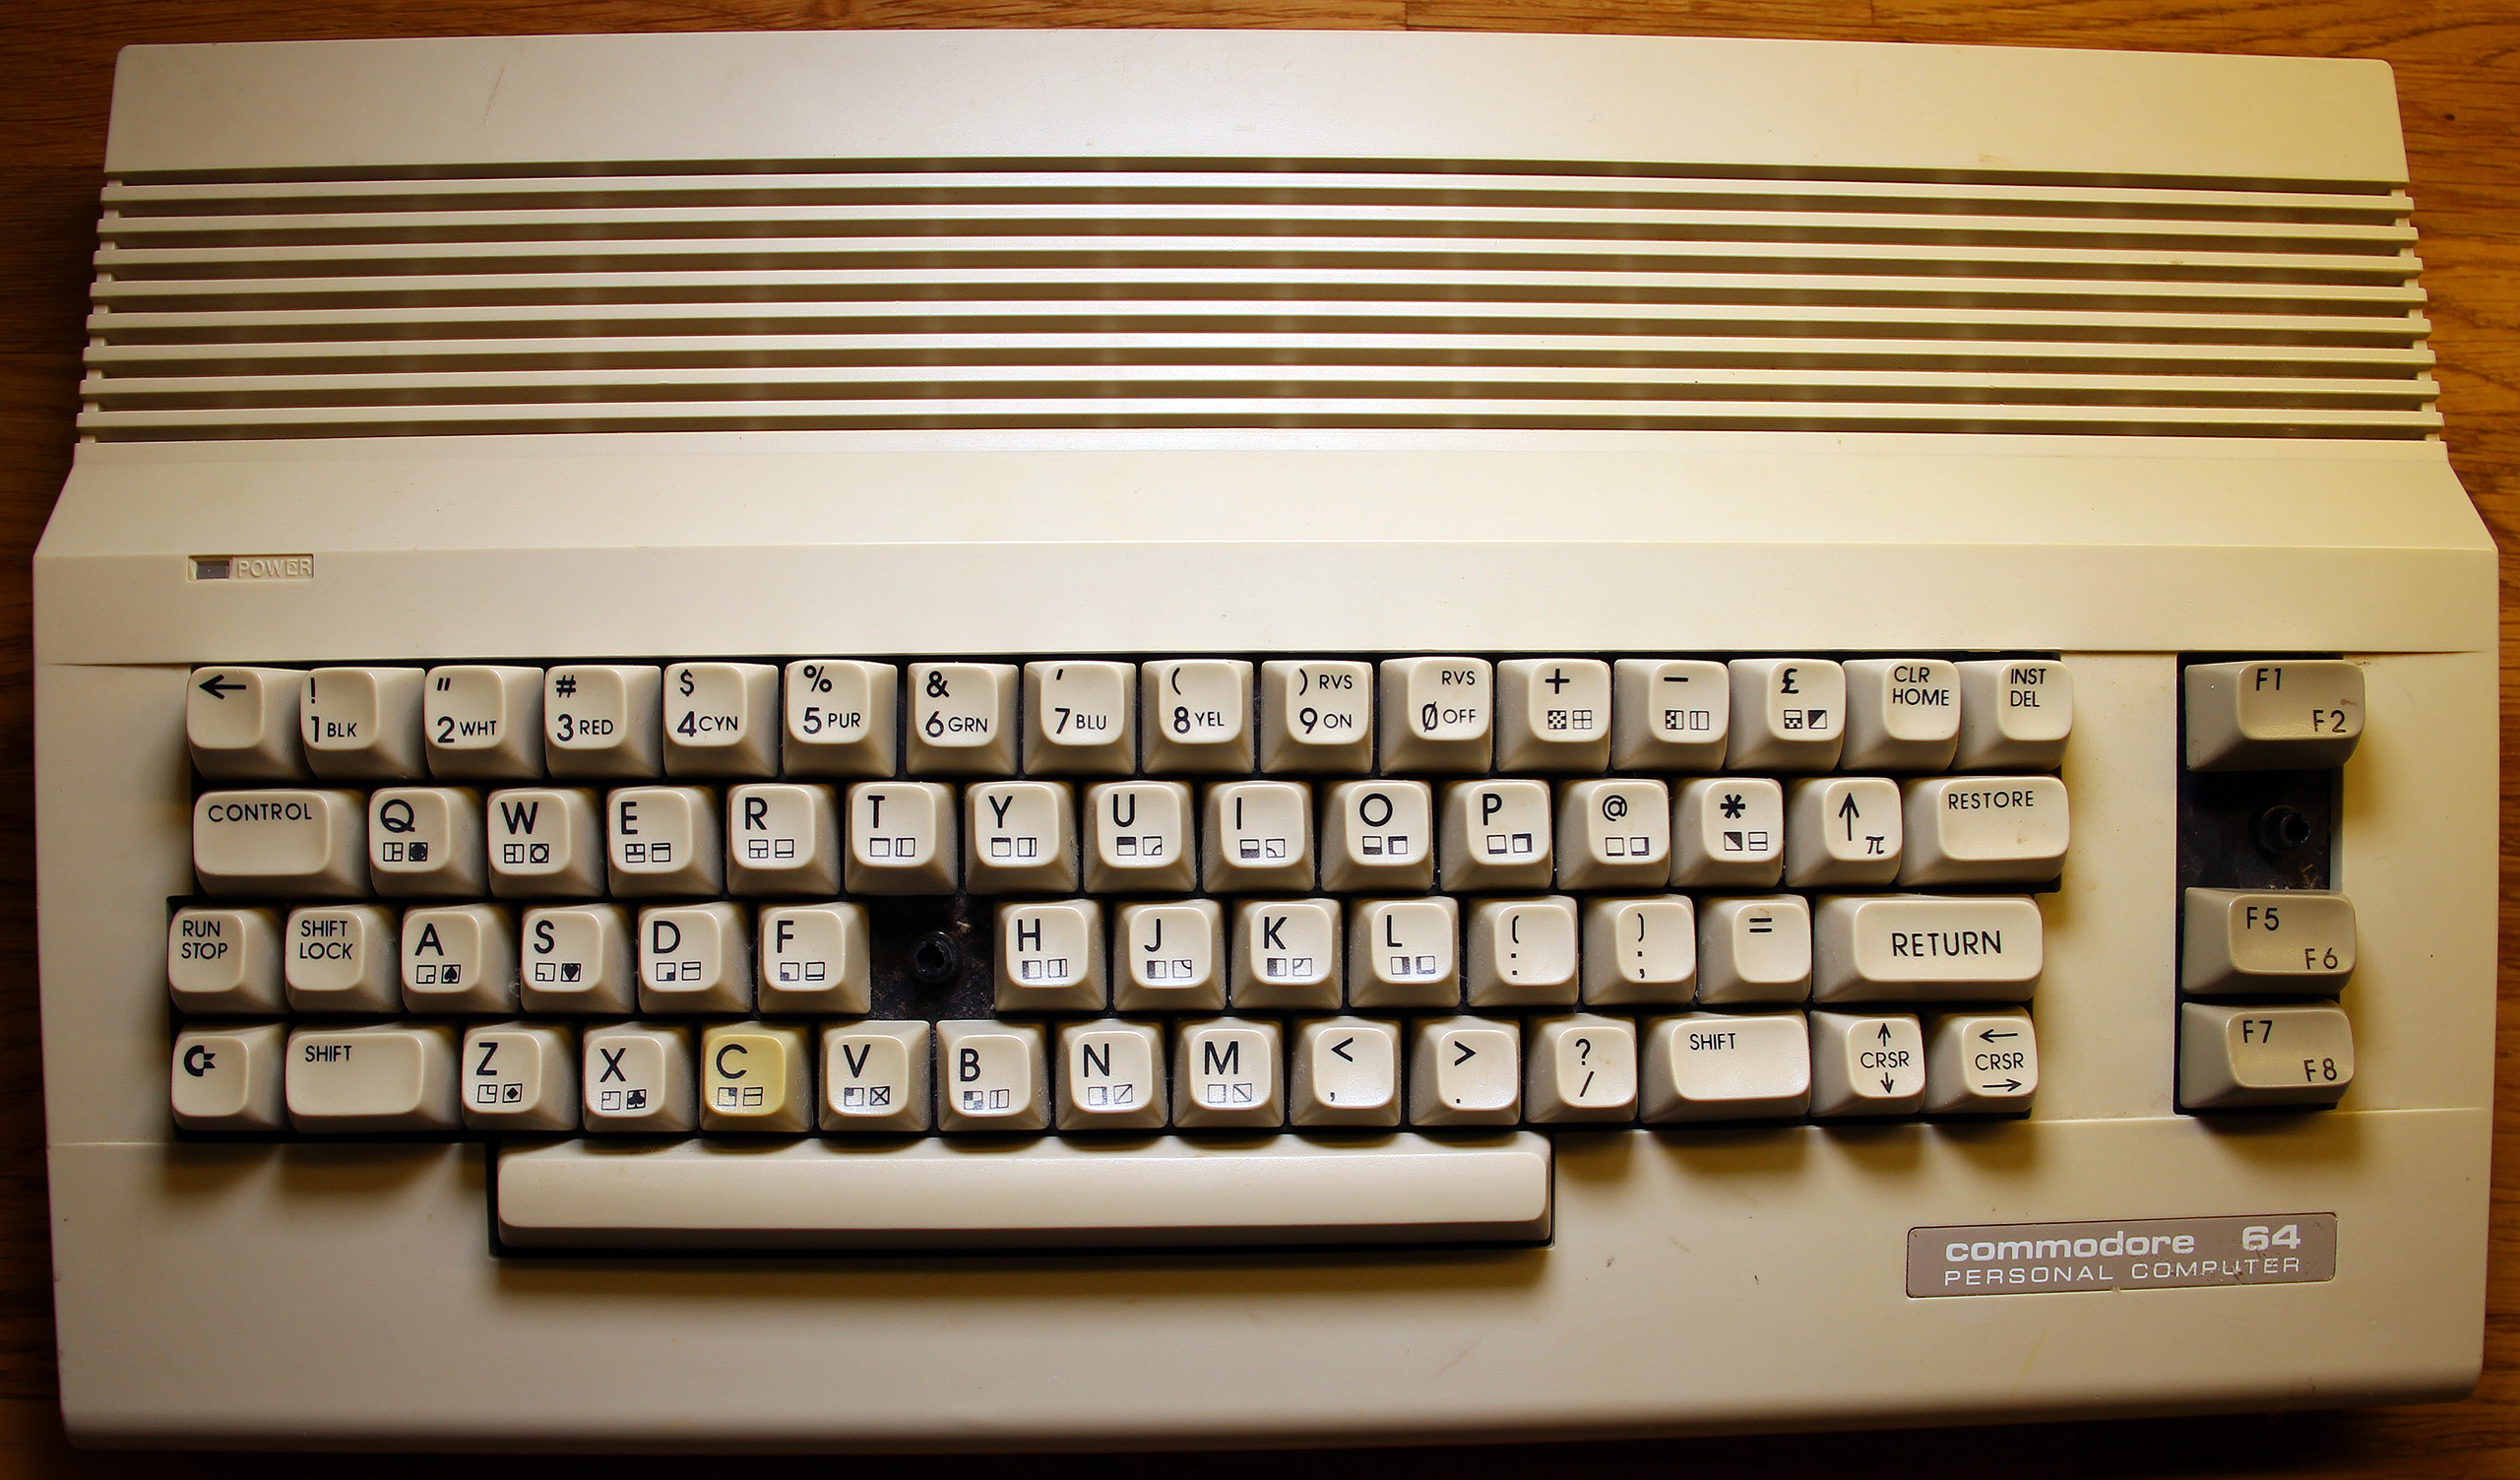
C64C before restoration
As you can see, not in perfect shape. There are keys missing, keys not being hold in place (not visible here), the case had become yellow in several spots, and quite a few scuff marks here and there. On top of this, there was tons of dirt inside the case.
What was worse was that certain parts of the keyboard was broken. The stands to where the keycaps go on were physically in pieces.
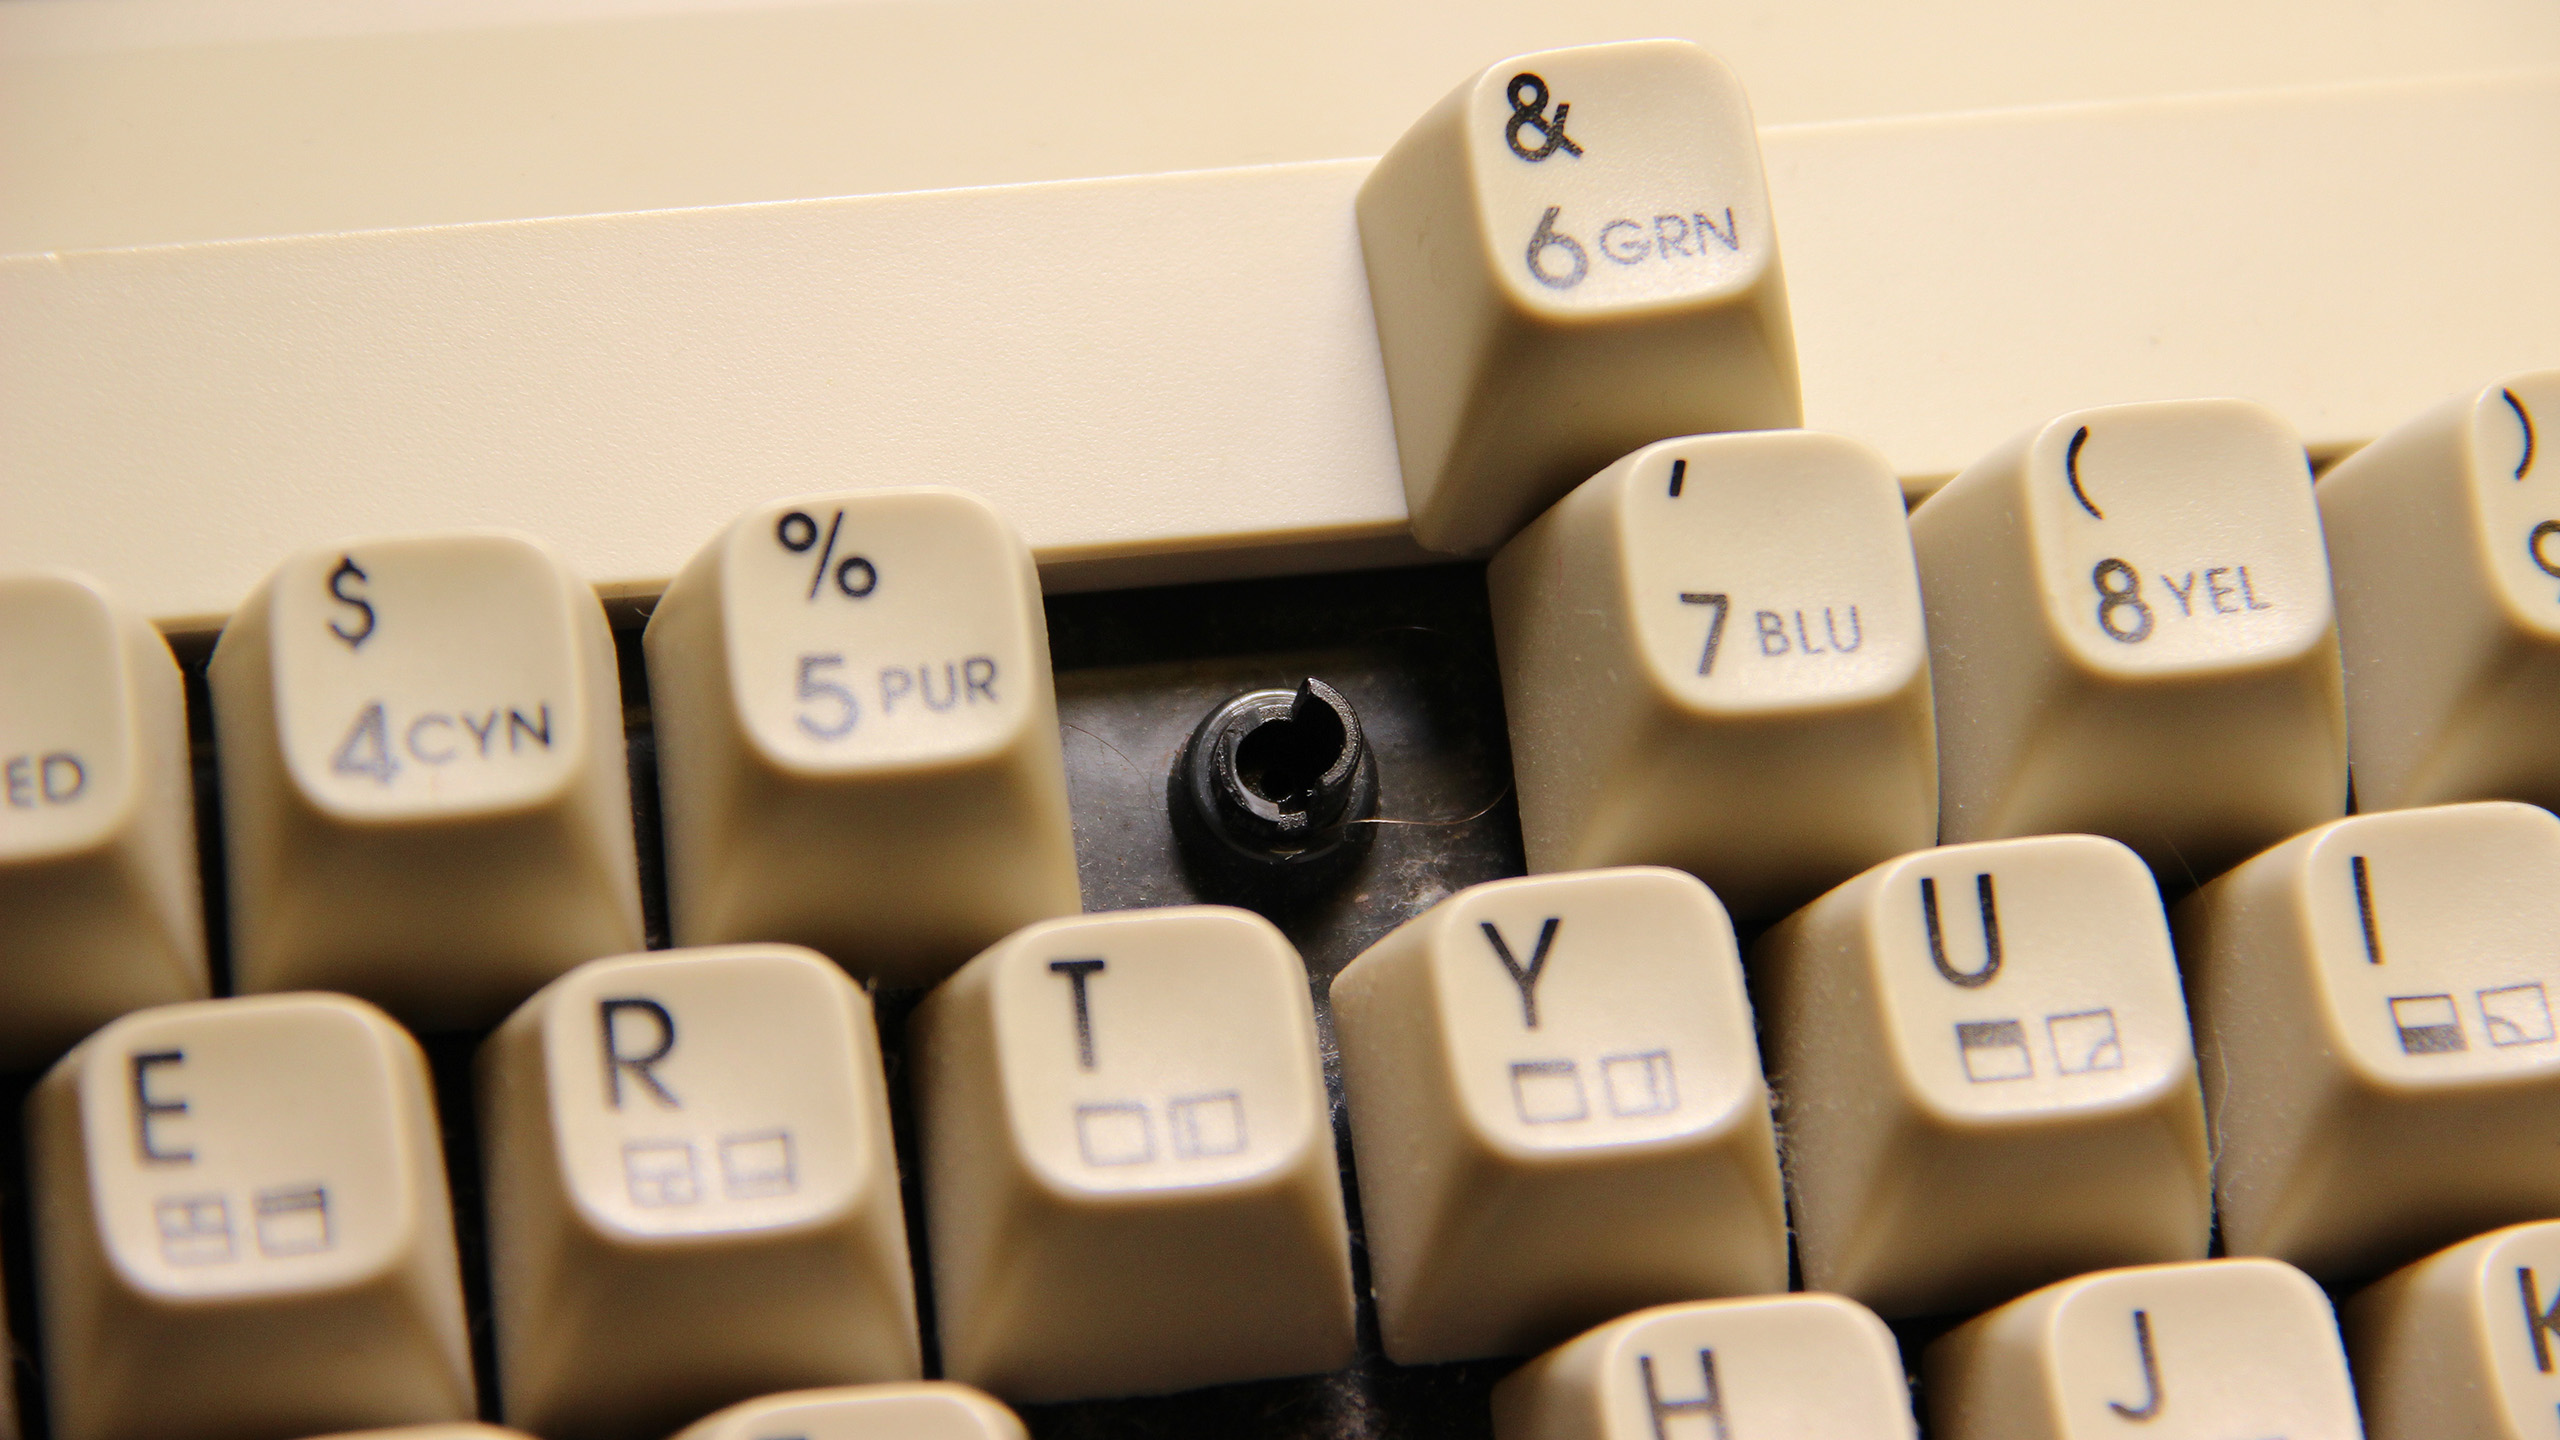
Broken keyboard stands
That was bad, but the C64 is well-known for being maintainable so I was sure there would be one way or another to find spare parts to replace just these plastic stand-offs. I continued with opening the whole machine, removing the keyboard and mainboard from the C64 case. This couldn’t had been easier, and for a moment I felt that things really were better in the old days. Here we had the whole computer integrated in one case (including keyboard), and it was easy to take it apart. It exists a gazillion of tutorials on Internet of how to do this, so I’m not going into any details for this part.
So how did the C64 look inside? Terrible. I don’t want my readers to feel too ill, so I’m not going to show pictures of everything, but the keyboard (with the keycaps removed) should give a good indication of how the rest of the system looked like.
Dirty keyboard
Ok, time to get to work. I took the whole C64 apart into every little detail and cleaned every part by part. Doing this properly, including removal of all the annoying scuff-marks took a couple of hours. I mostly used what other people had been using, like dish soap, baking soda and such.
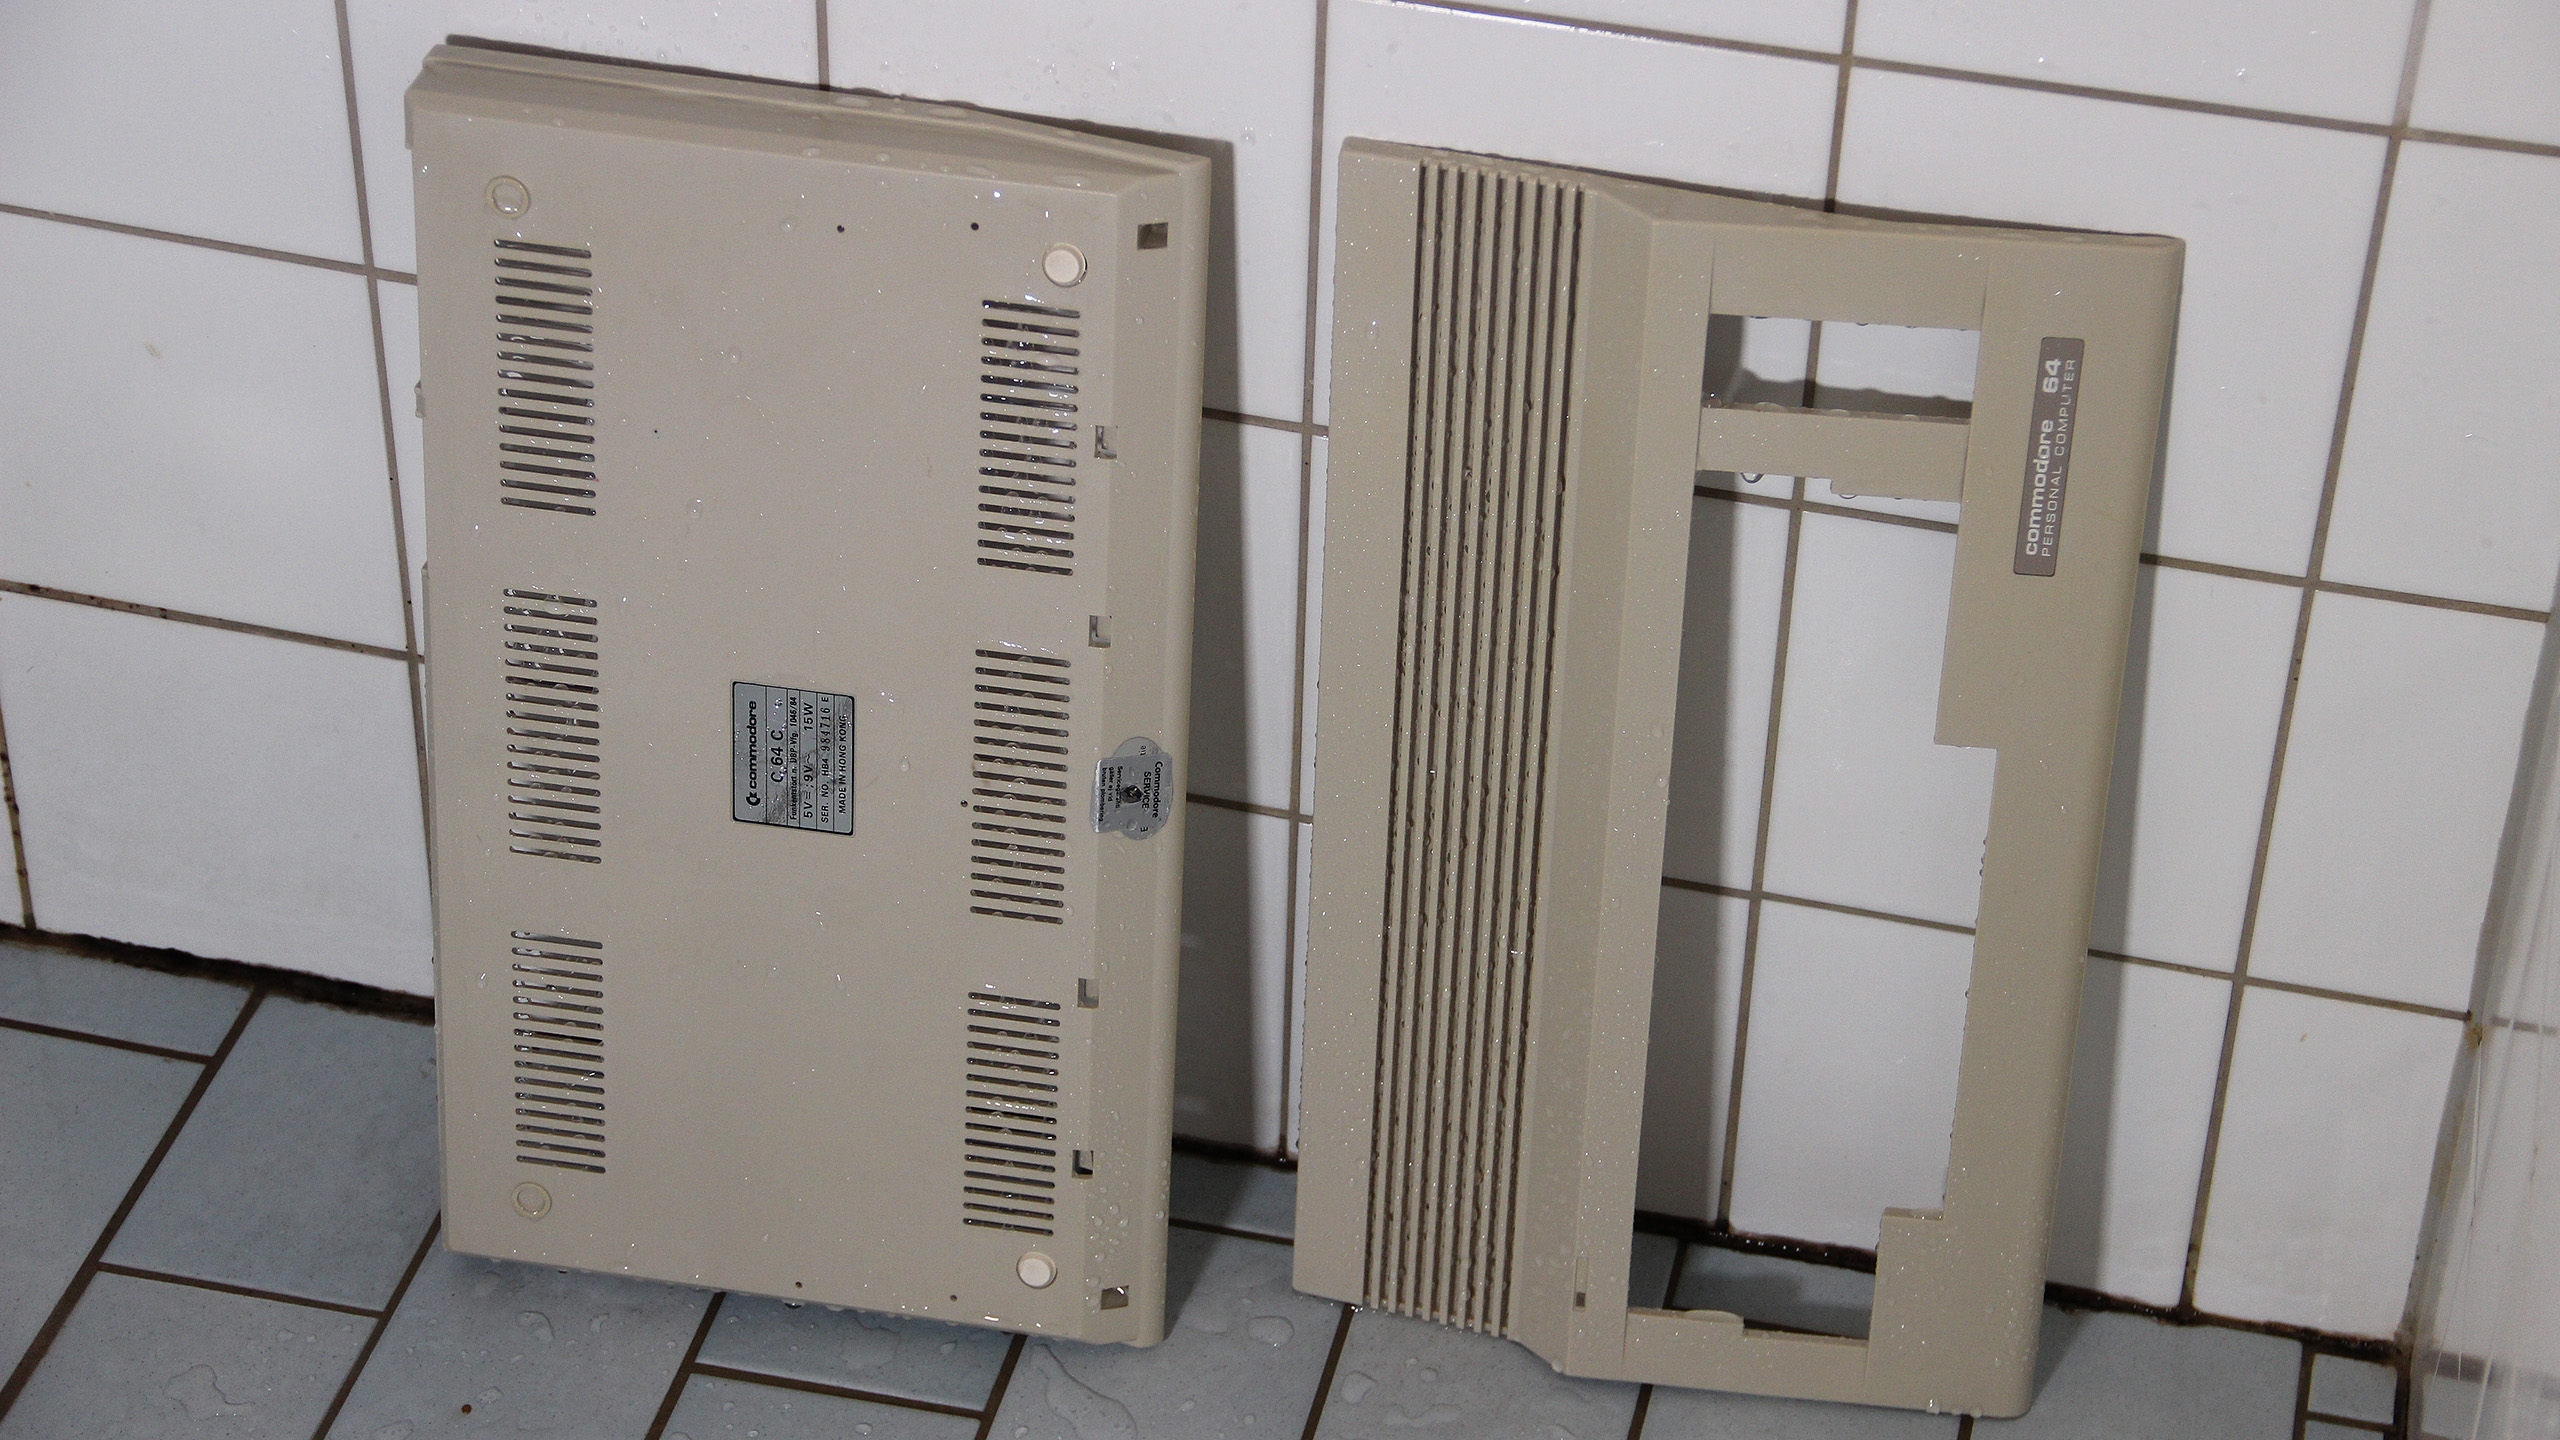
Cleaning of C64 case
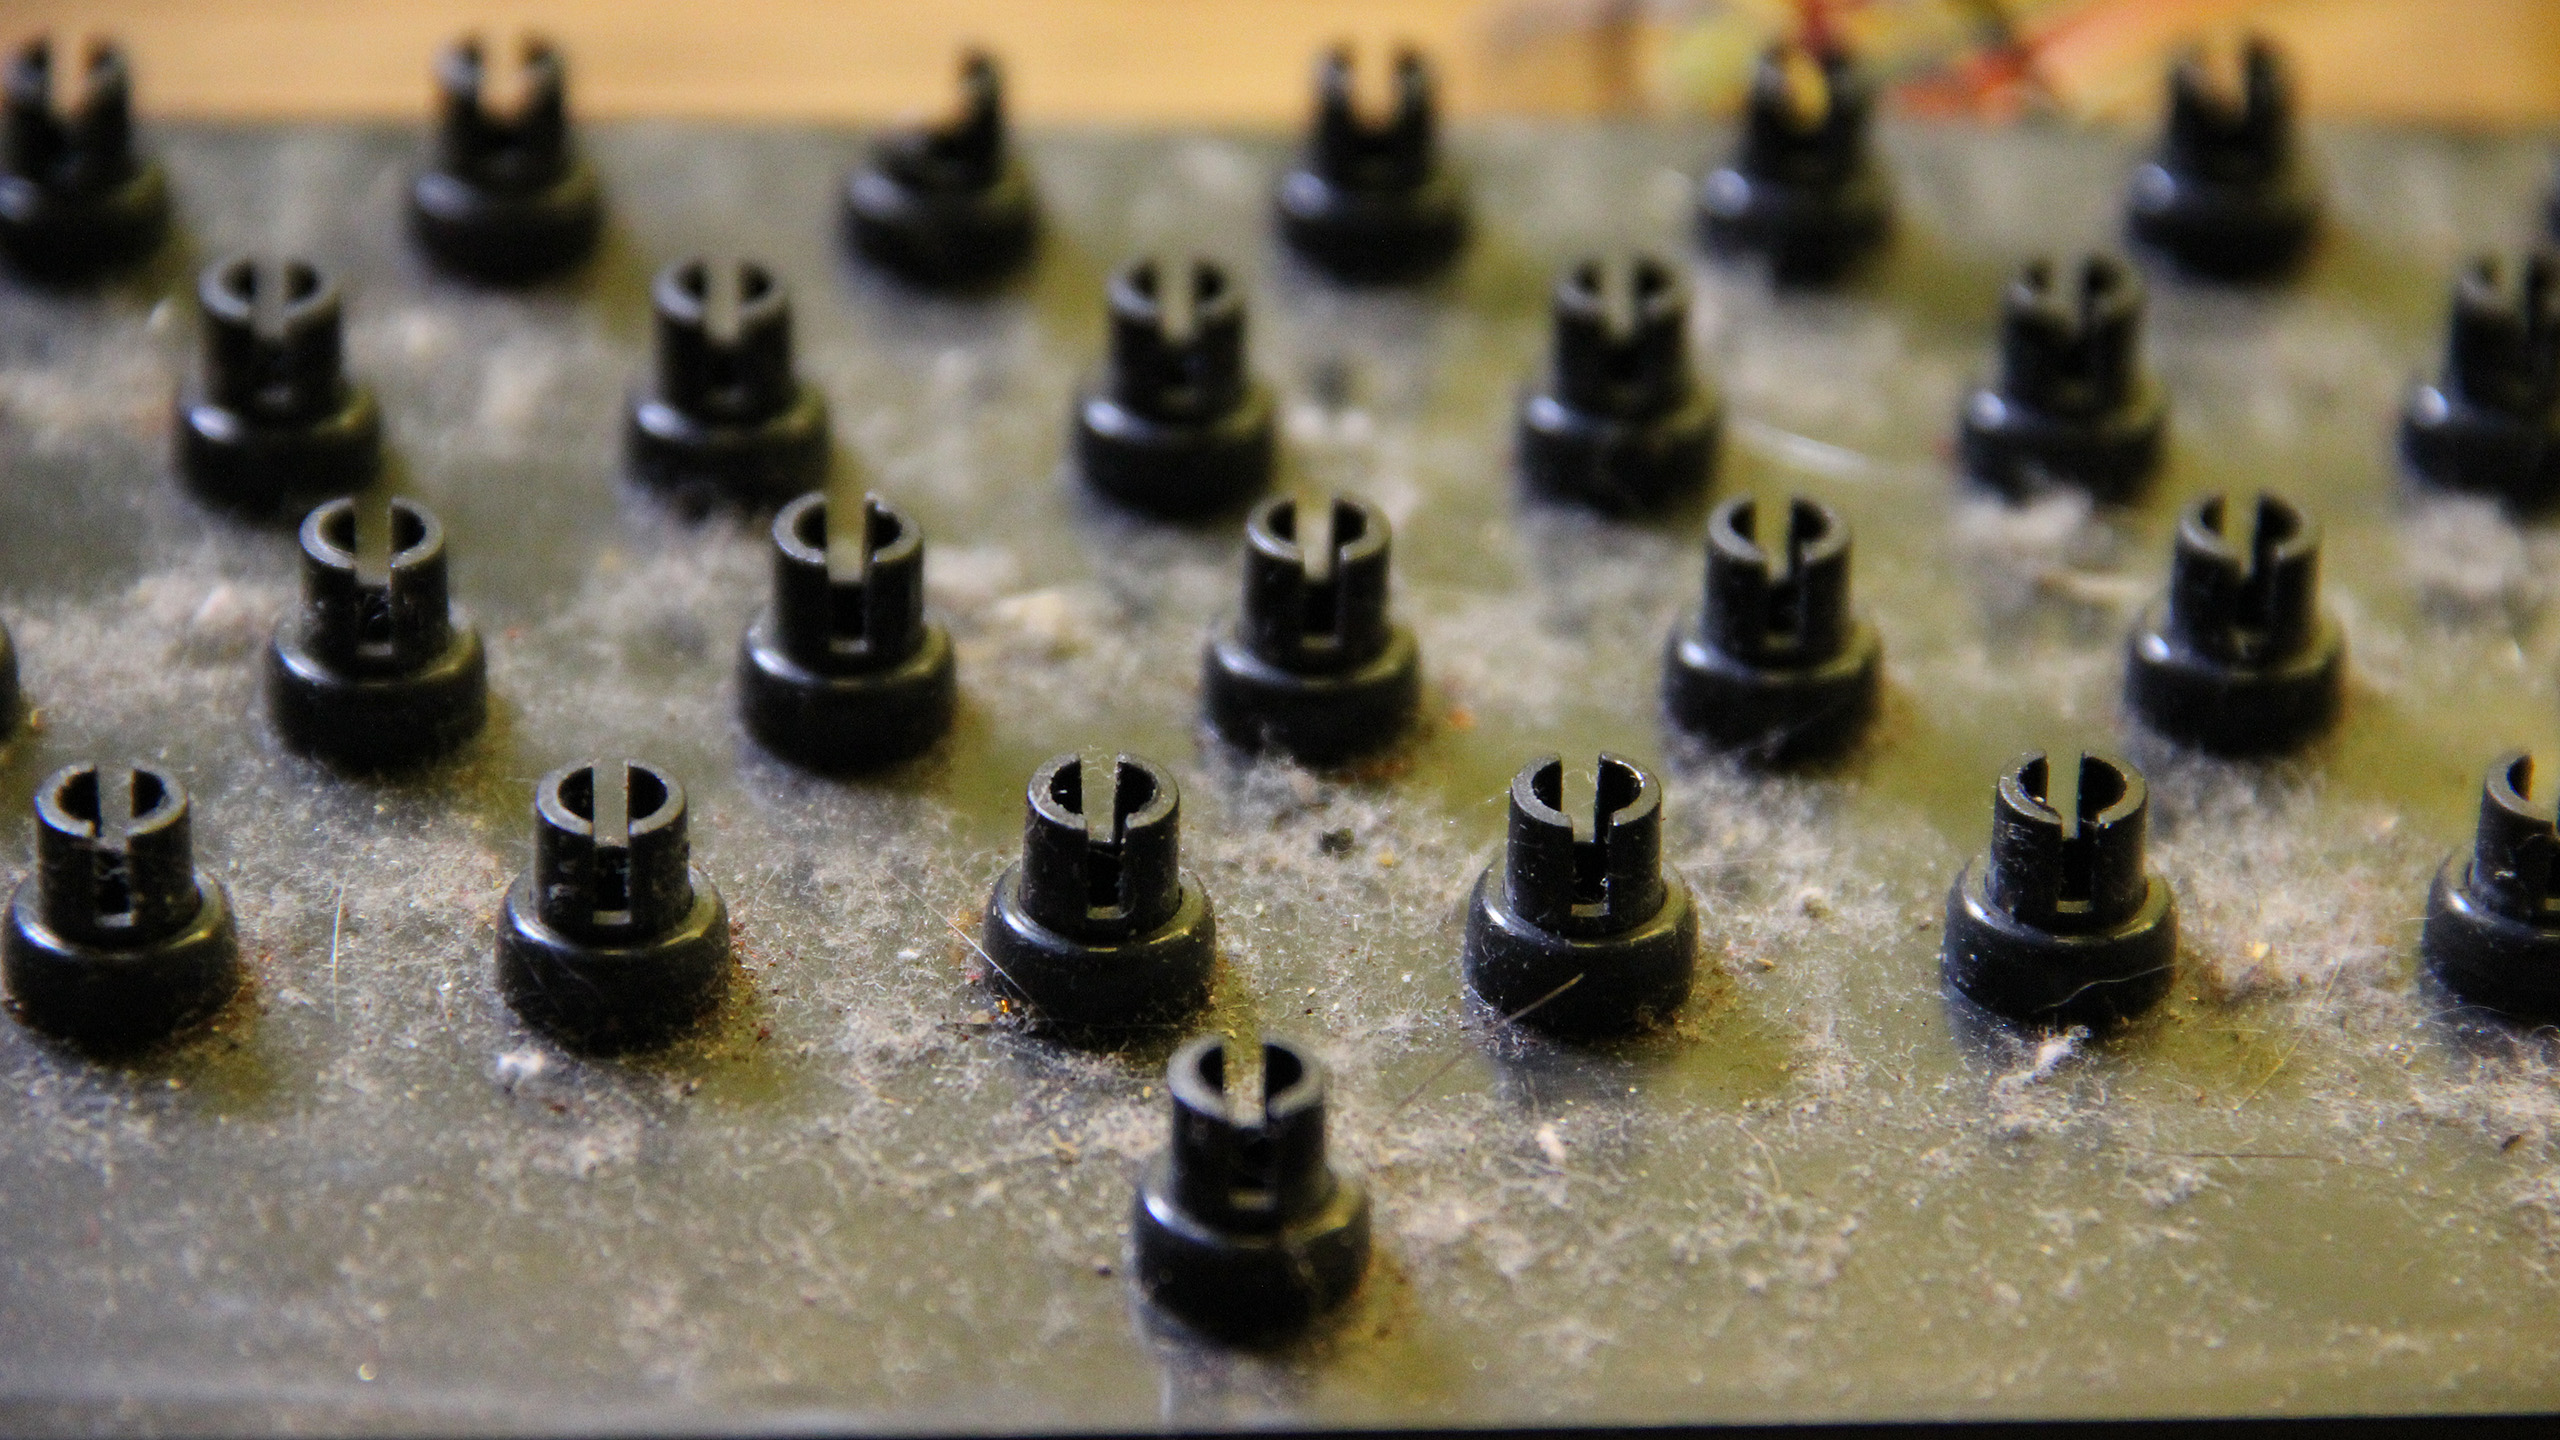
While taking the keyboard apart for cleaning, I noticed that the keycaps stand-offs were all replaceable, which meant that the broken units could be replaced. I thoroughly cleaned the keyboard PCB and all the plastic parts individually. Each keycap was cleaned individually, so was every other part made from plastic.

Keycap cleaning
It was possible to remove the PCB by removing a gazillion of small screws. Here a picture prior to cleaning with electronic cleaning:
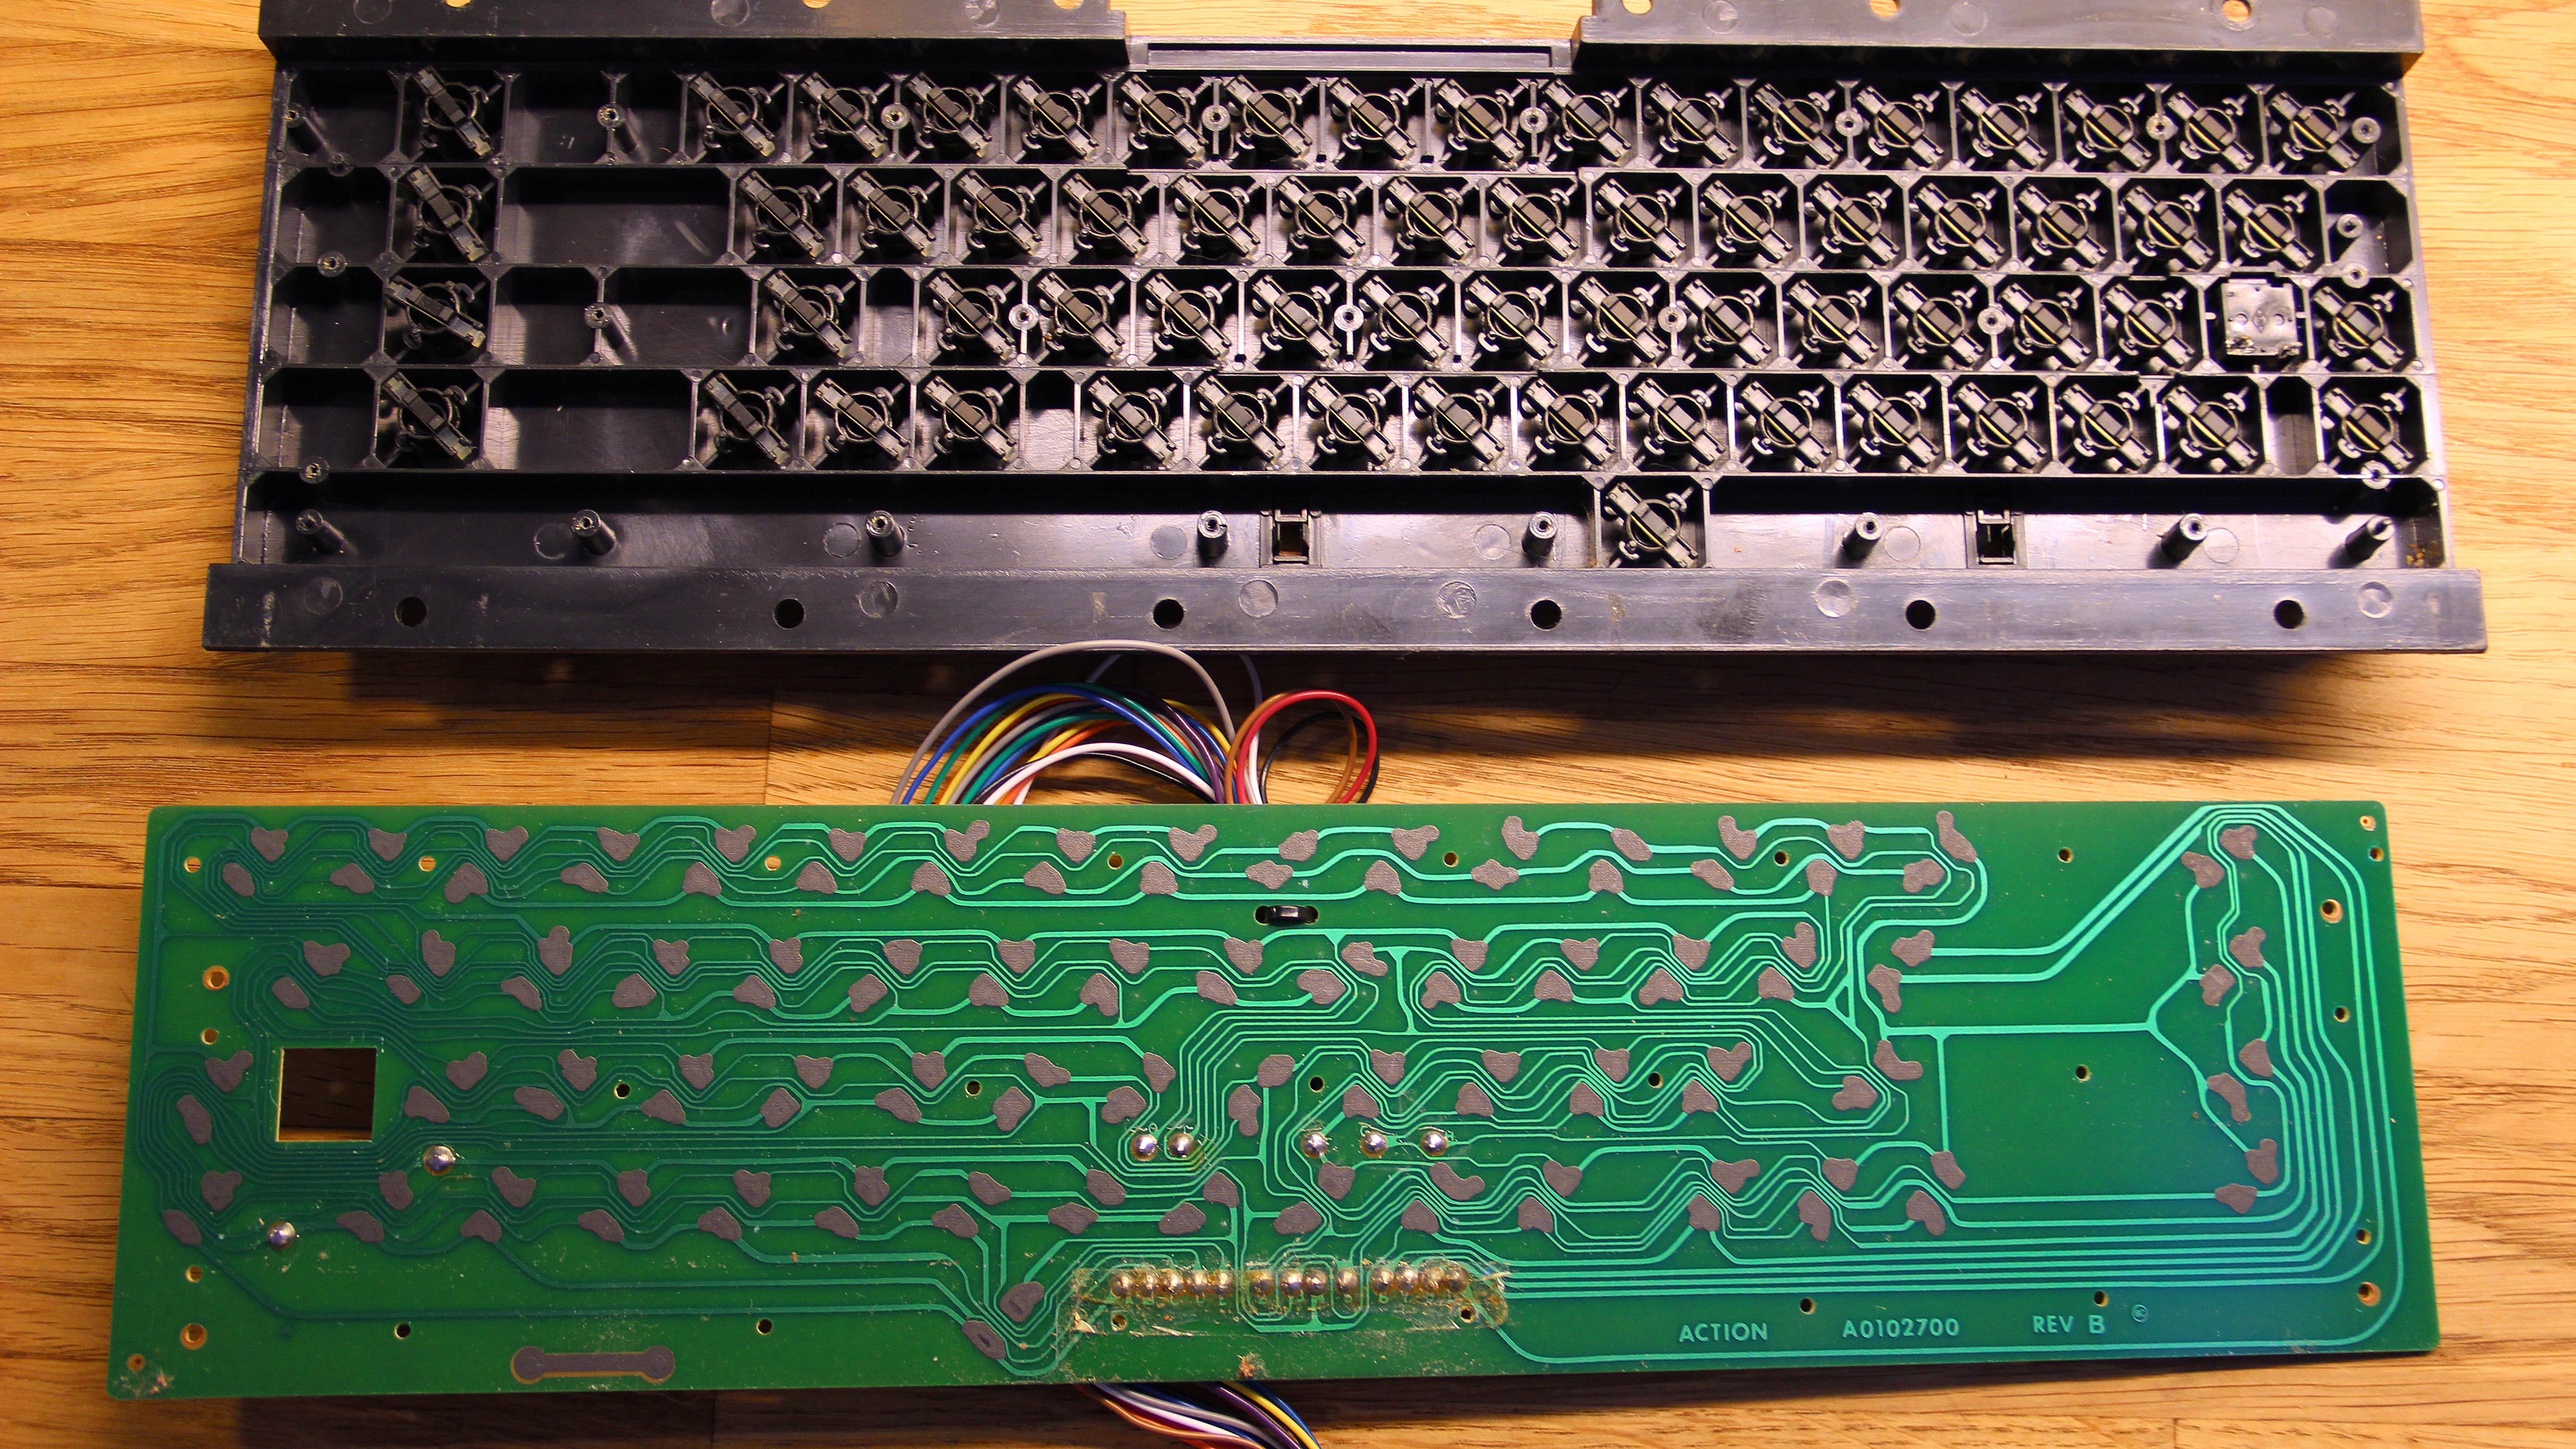
Dismounted keyboard
Now, what about the broken pieces? I’m a member of a computer retro forum, and thought someone might have spares laying around. After posting a message about which keys were broken, there were people offering me these replacement parts for free – which really shows how good community this is. And that is what this is all about, people that have grown up with this computer that want to make sure they are surviving and will be working computers for many more years to come. A few days later I had all the spare parts for the keyboard that I needed.
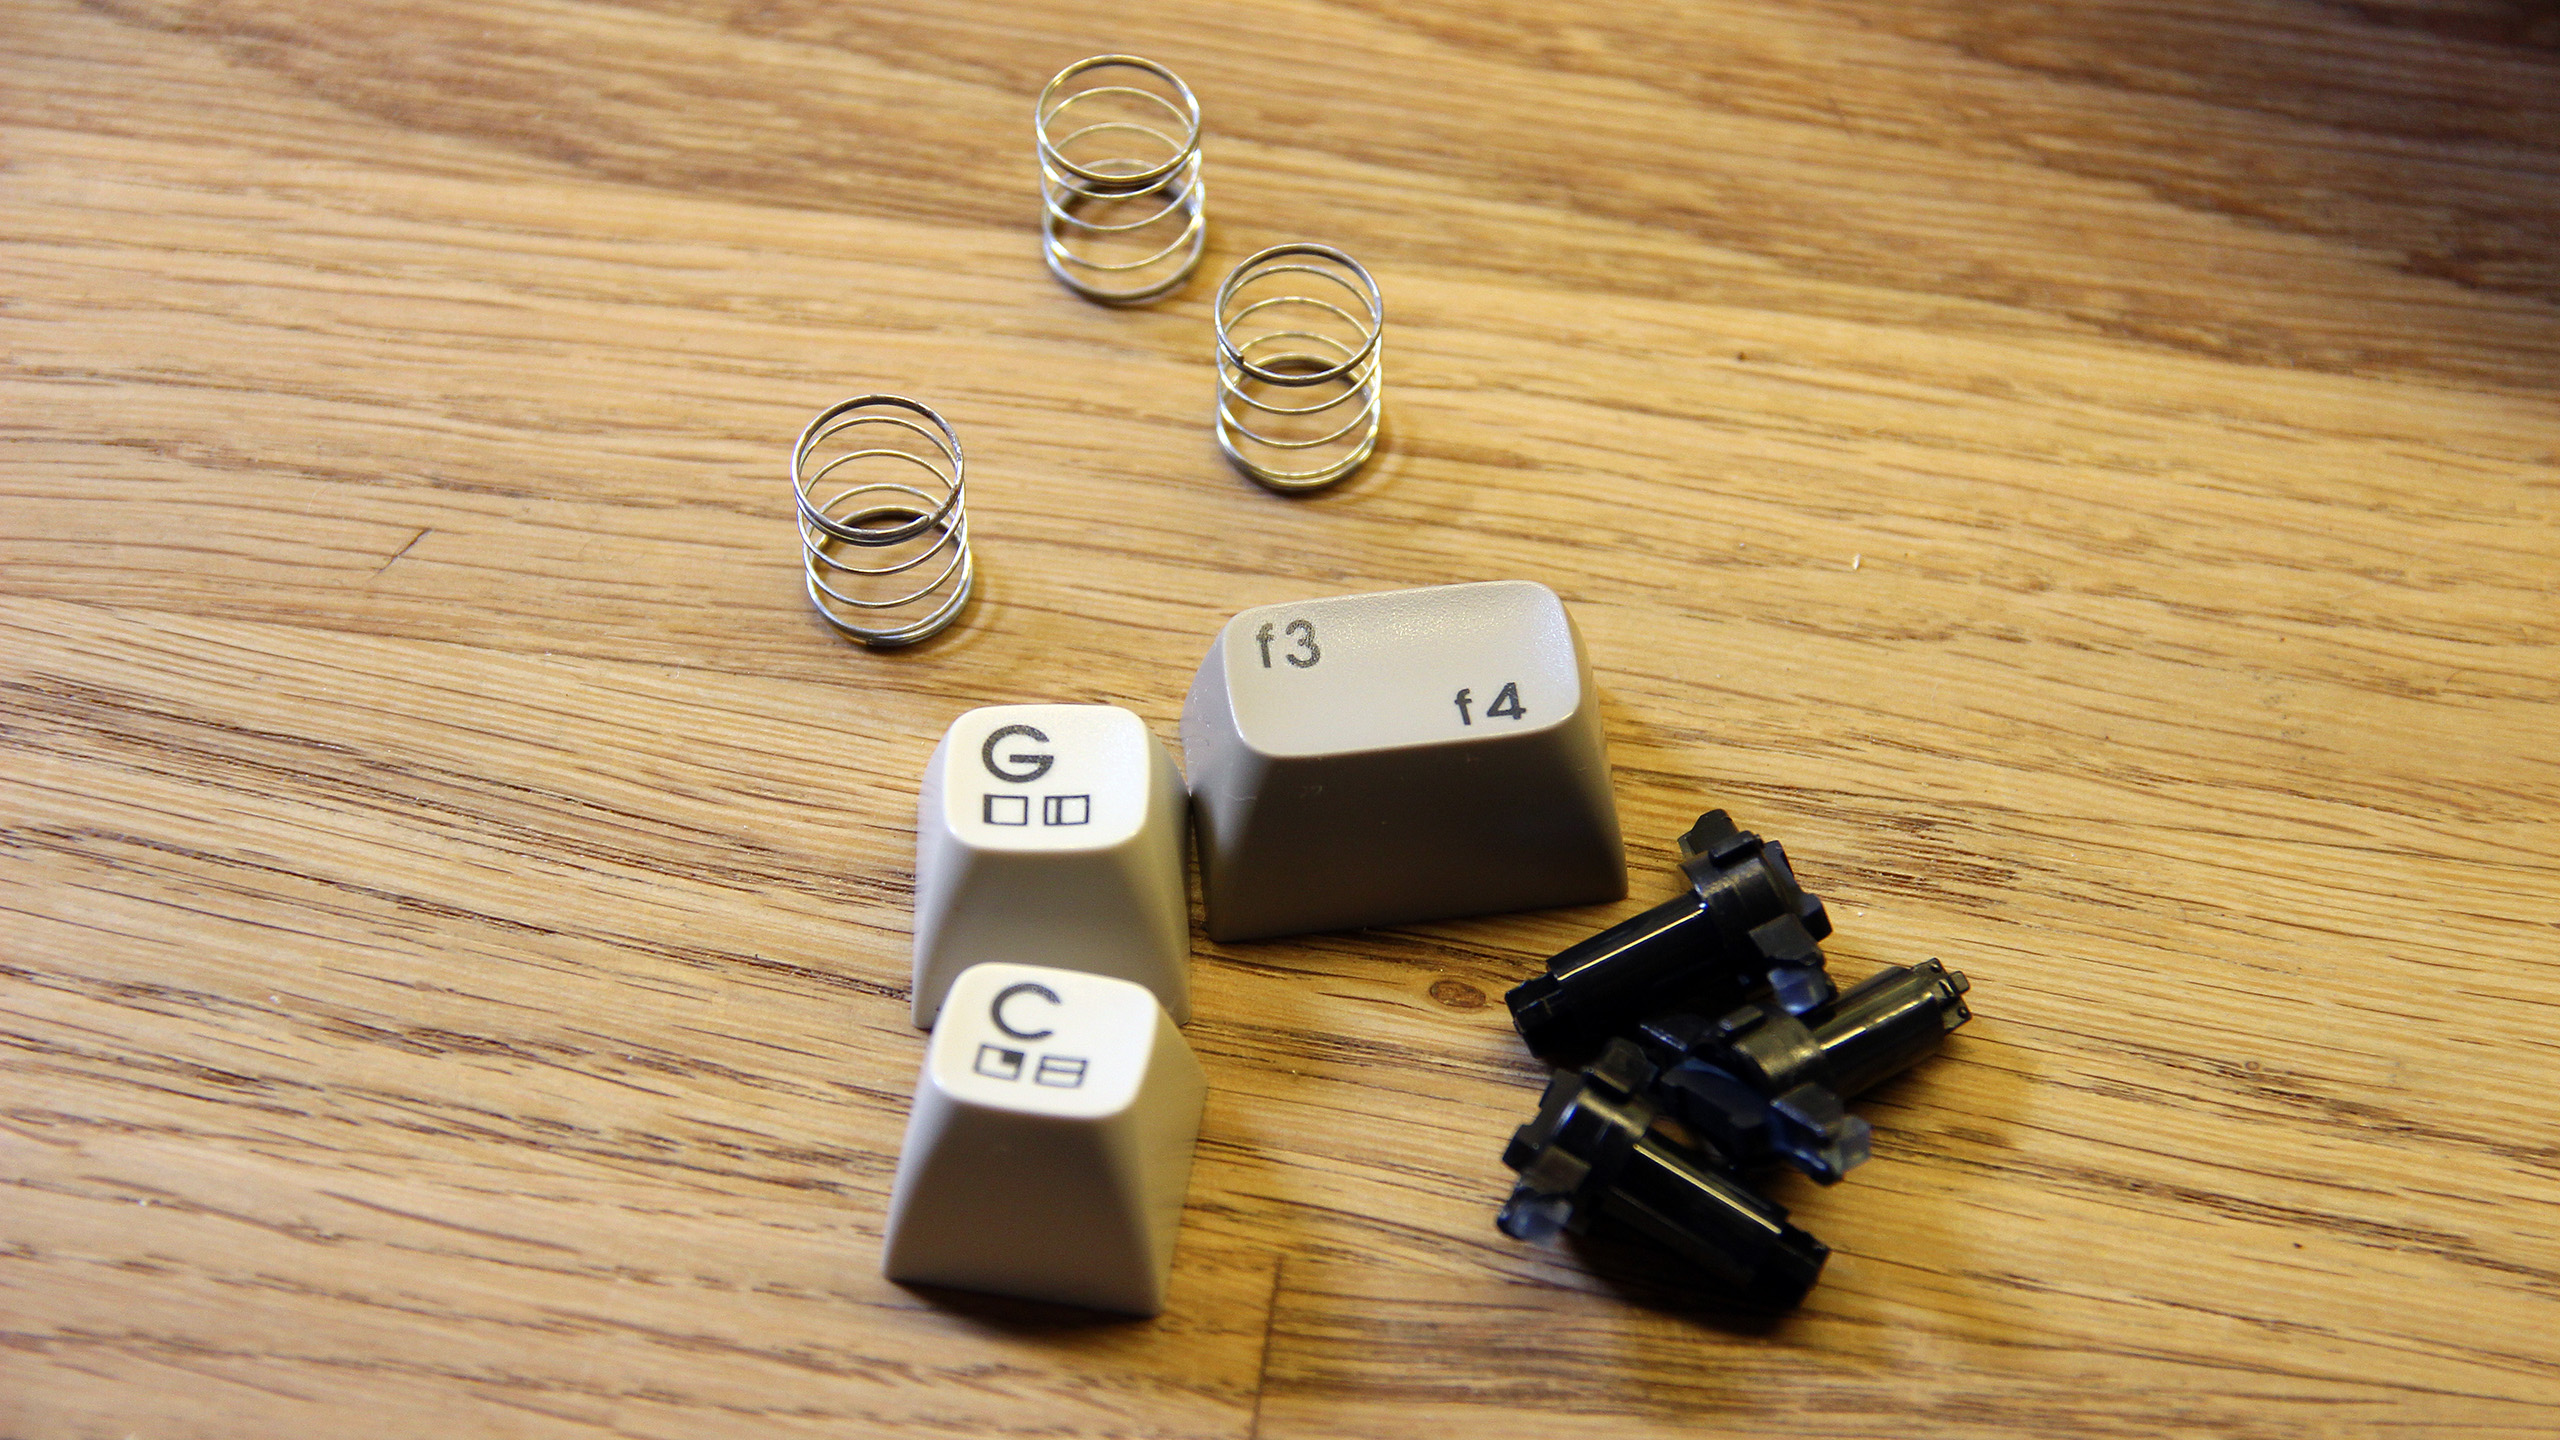
Replacement keycaps
And when I’m at it, why not properly clean the main board as well? A big bunch of cotton swabs, some alcohol based electronics cleaning and many hours of work made the main board looks much more appealing.
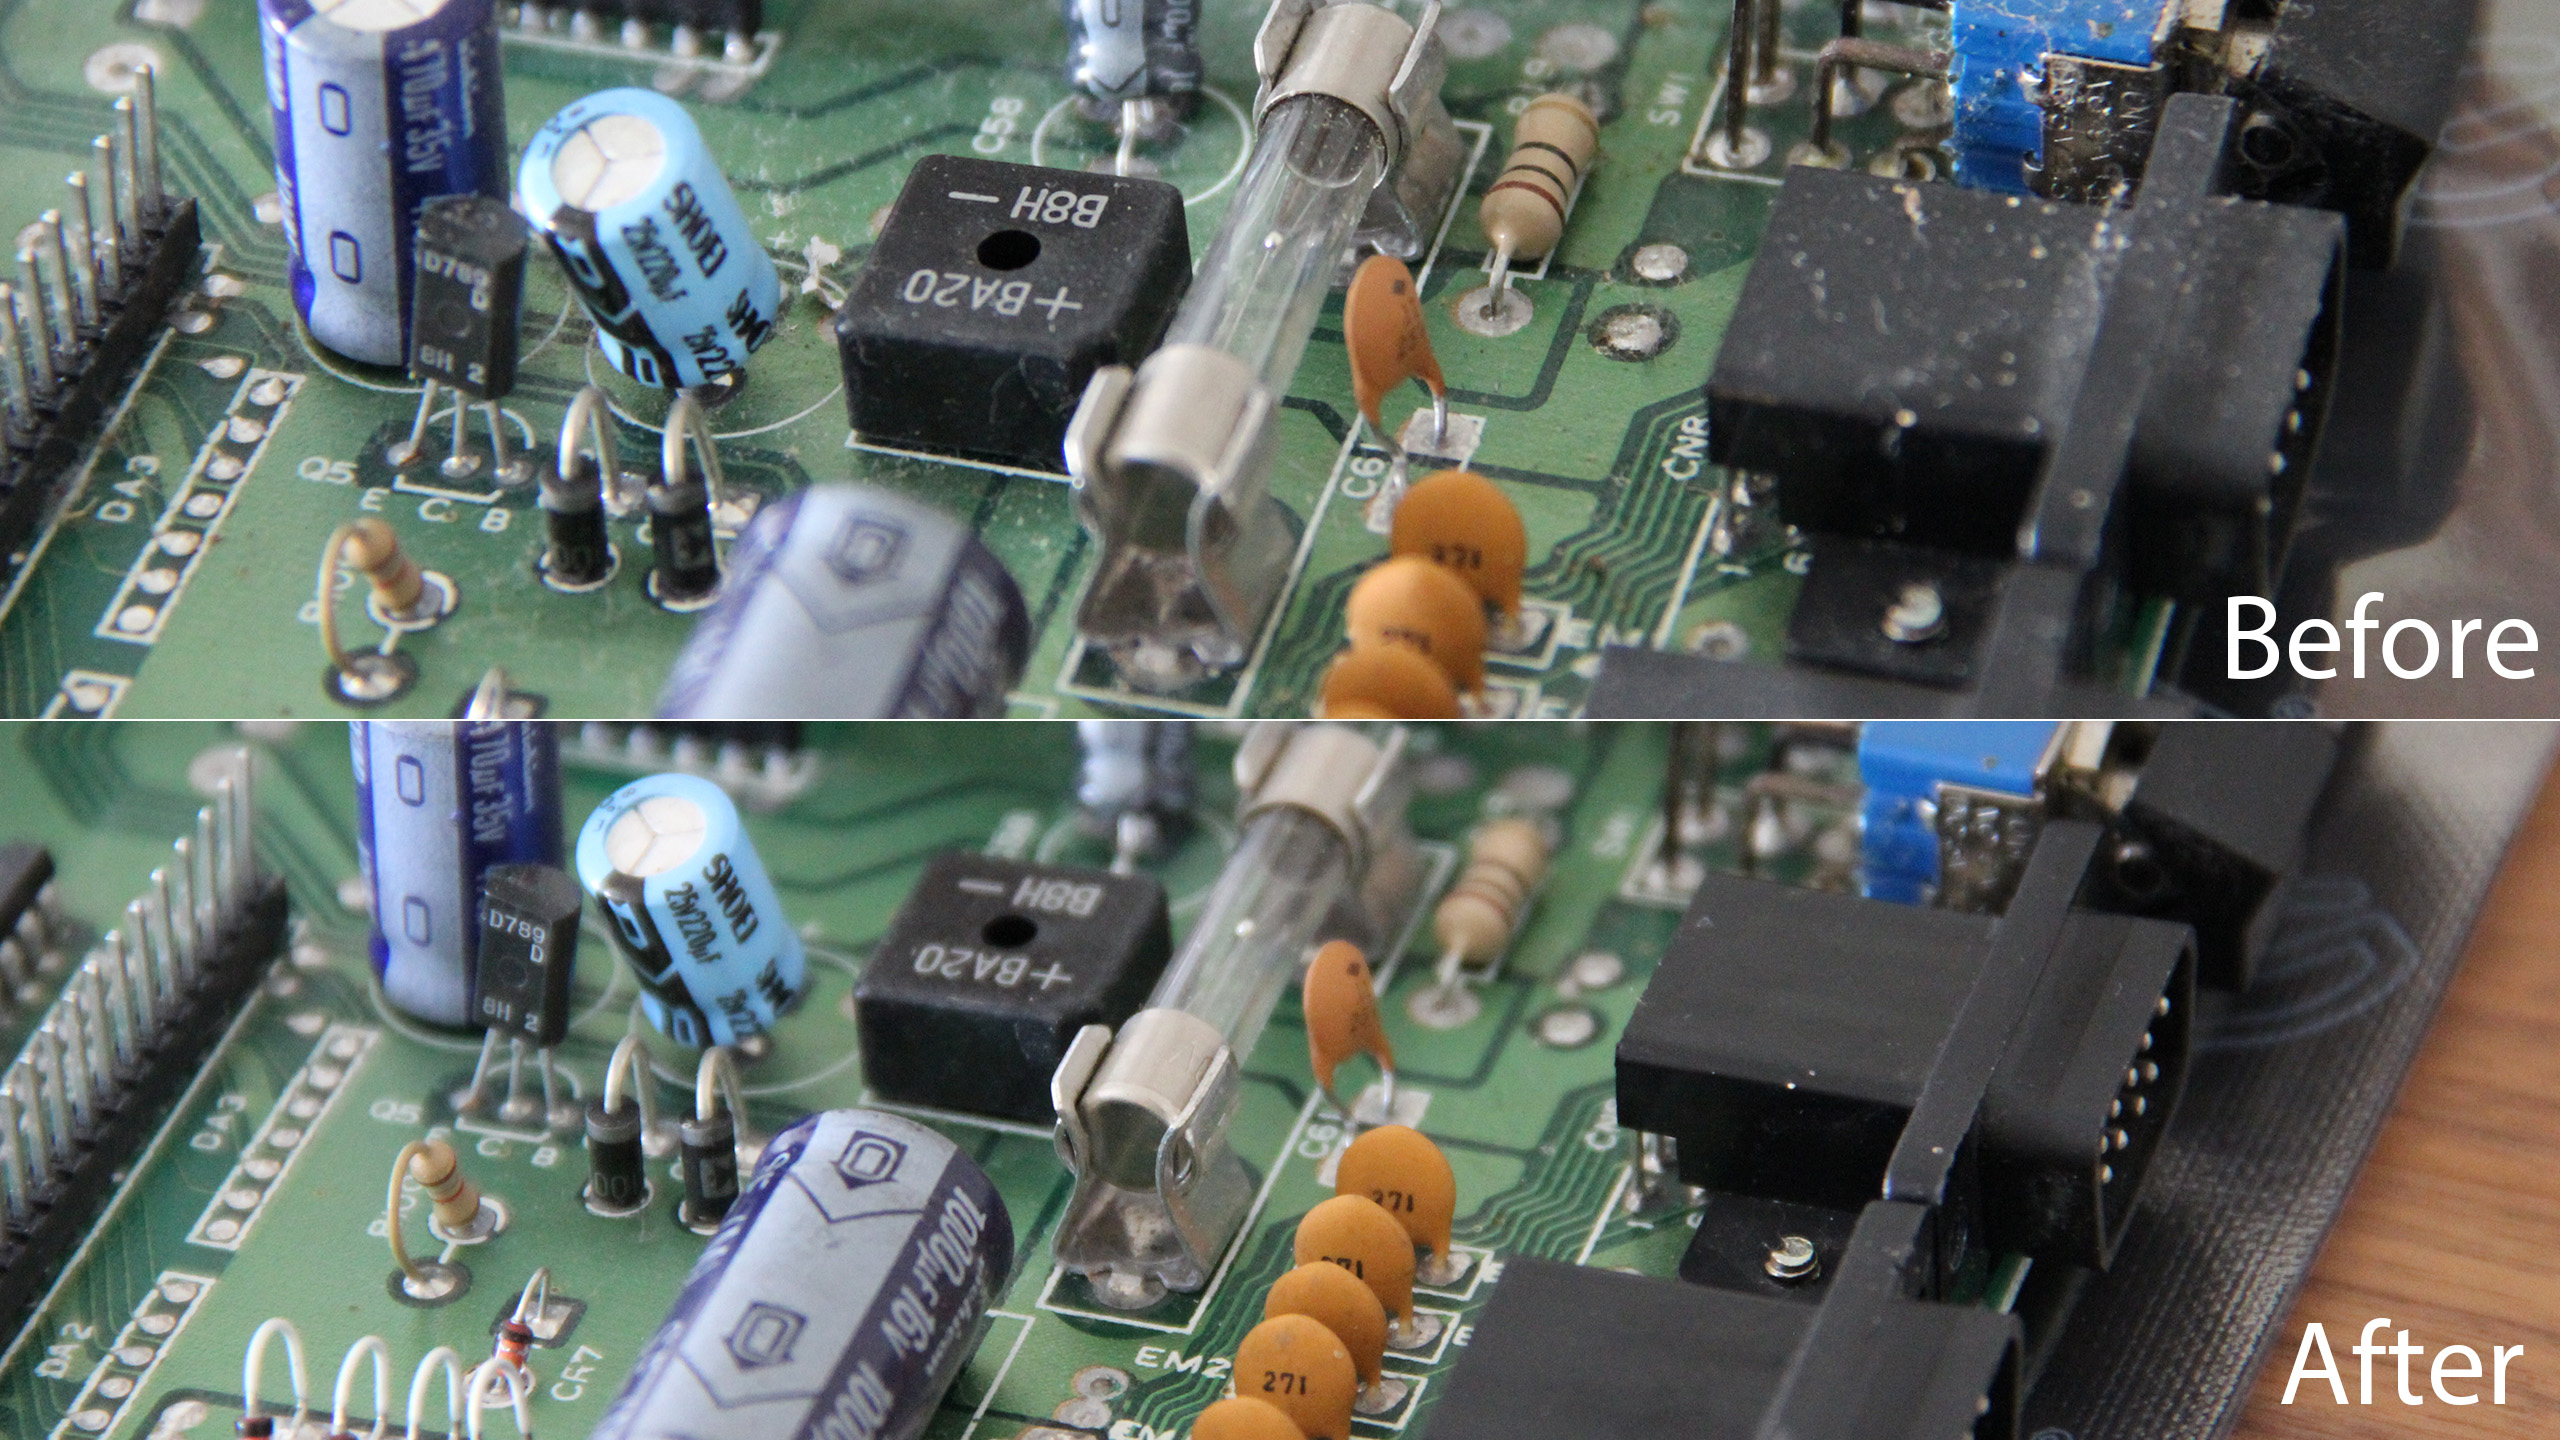
Cleaning of main board
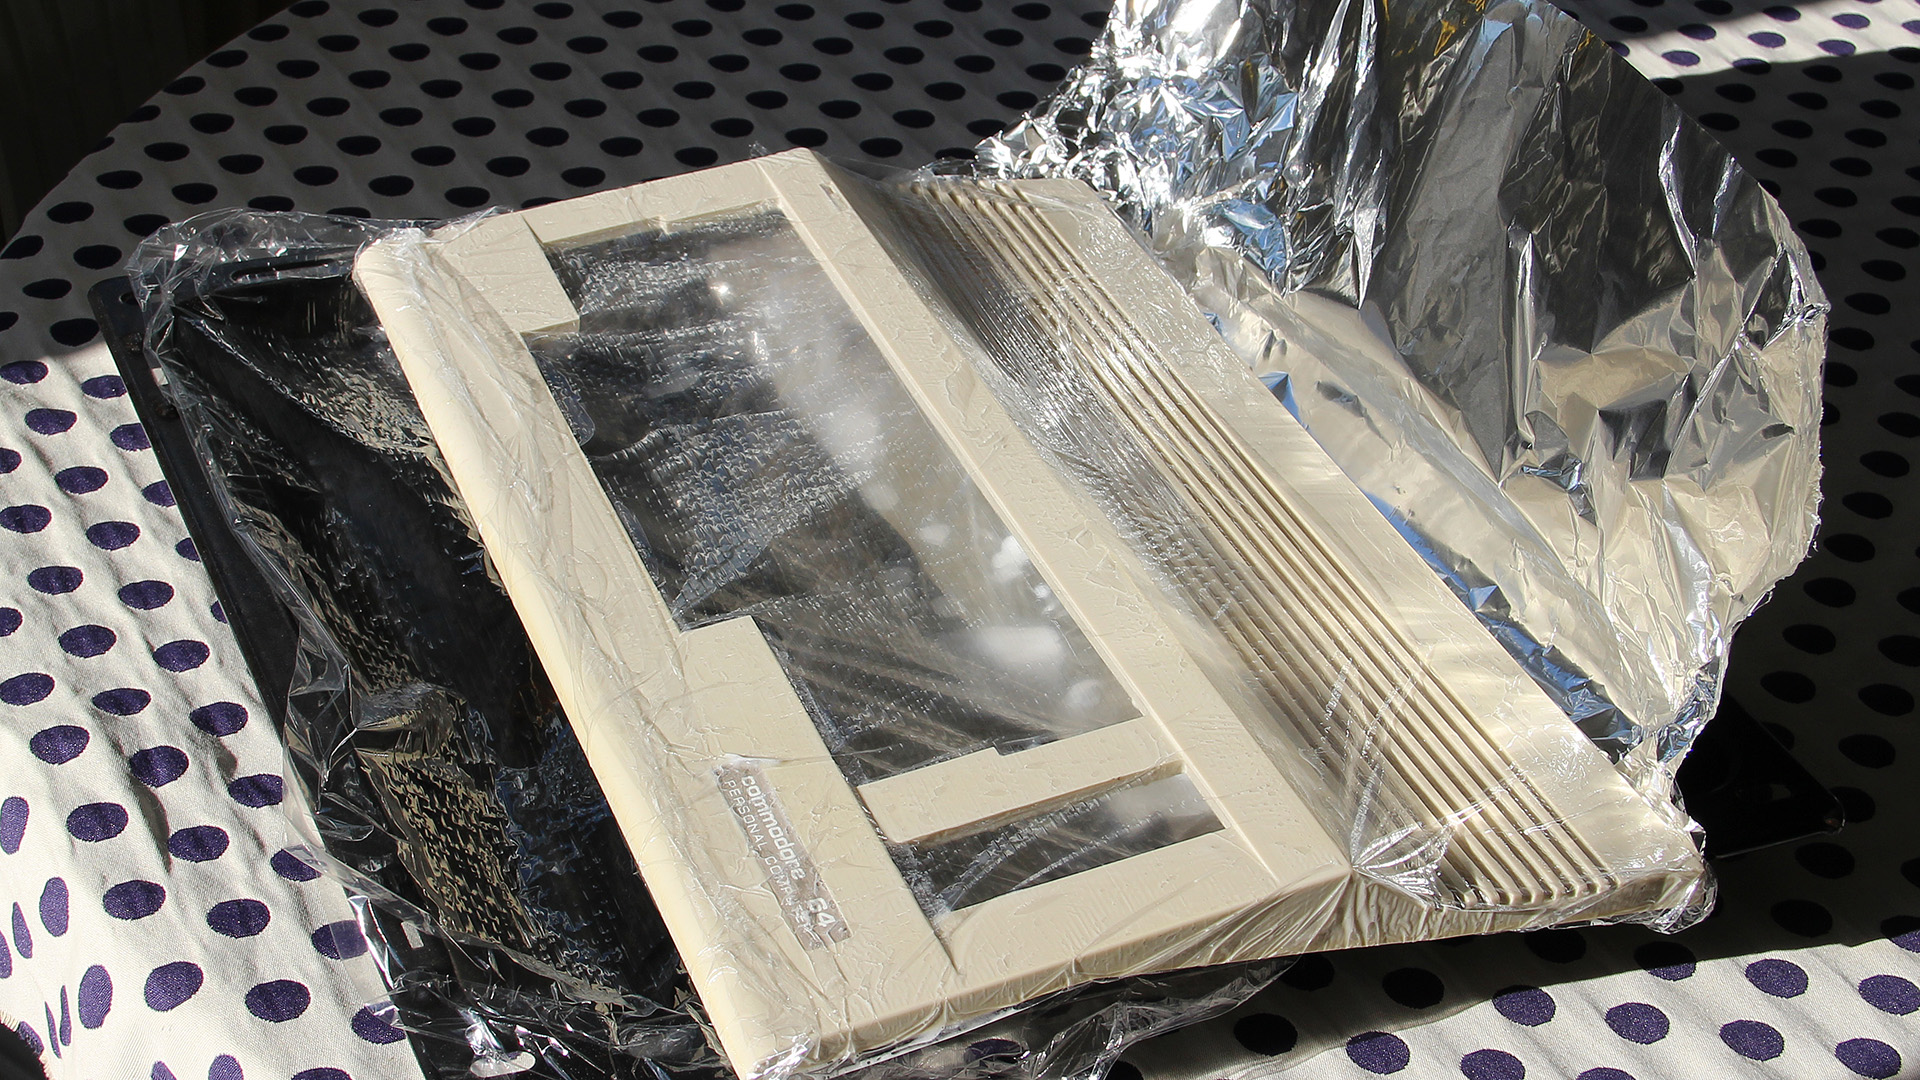
Now with all the parts cleaned up, what was I going to do about the yellowing? There’s this thing that has been going around for several years called retrobrite (or Retr0bright), which basically can revert the yellowing by applying a hydrogen peroxide and UV-light/heat. In my case I found hair saloon gel with 12% hydrogen peroxide, which was in a gel-form which I could easily apply to all the plastic parts (key-caps and C64 case). For the UV-part it was a little bit trickier, as I live in Sweden and sunlight isn’t something we see all too often. I bought an insect killer, which basically includes a 2 x 15W UV-light (flourescent tubes) to attract the insects. I started with applying the gel to the keycaps, and as I was going to have the keys under the light for 24 hours I needed to wrap the keys in plastic so that the gel wouldn’t evaporate. I also build a small little box with aluminum foil on the sides where the light could reflect so that the keys were exposed from every angle.

Keys in hydrogen peroxide and UV-light
After the UV-treatment, and some proper cleaning (make sure to get all the gel off!) the keys looks like new! All the yellowing was gone. I’ve done this procedure on all the C64s I’ve bought now, and to show the result, I’ve taken two photographs on three of the keycaps from another set I did.
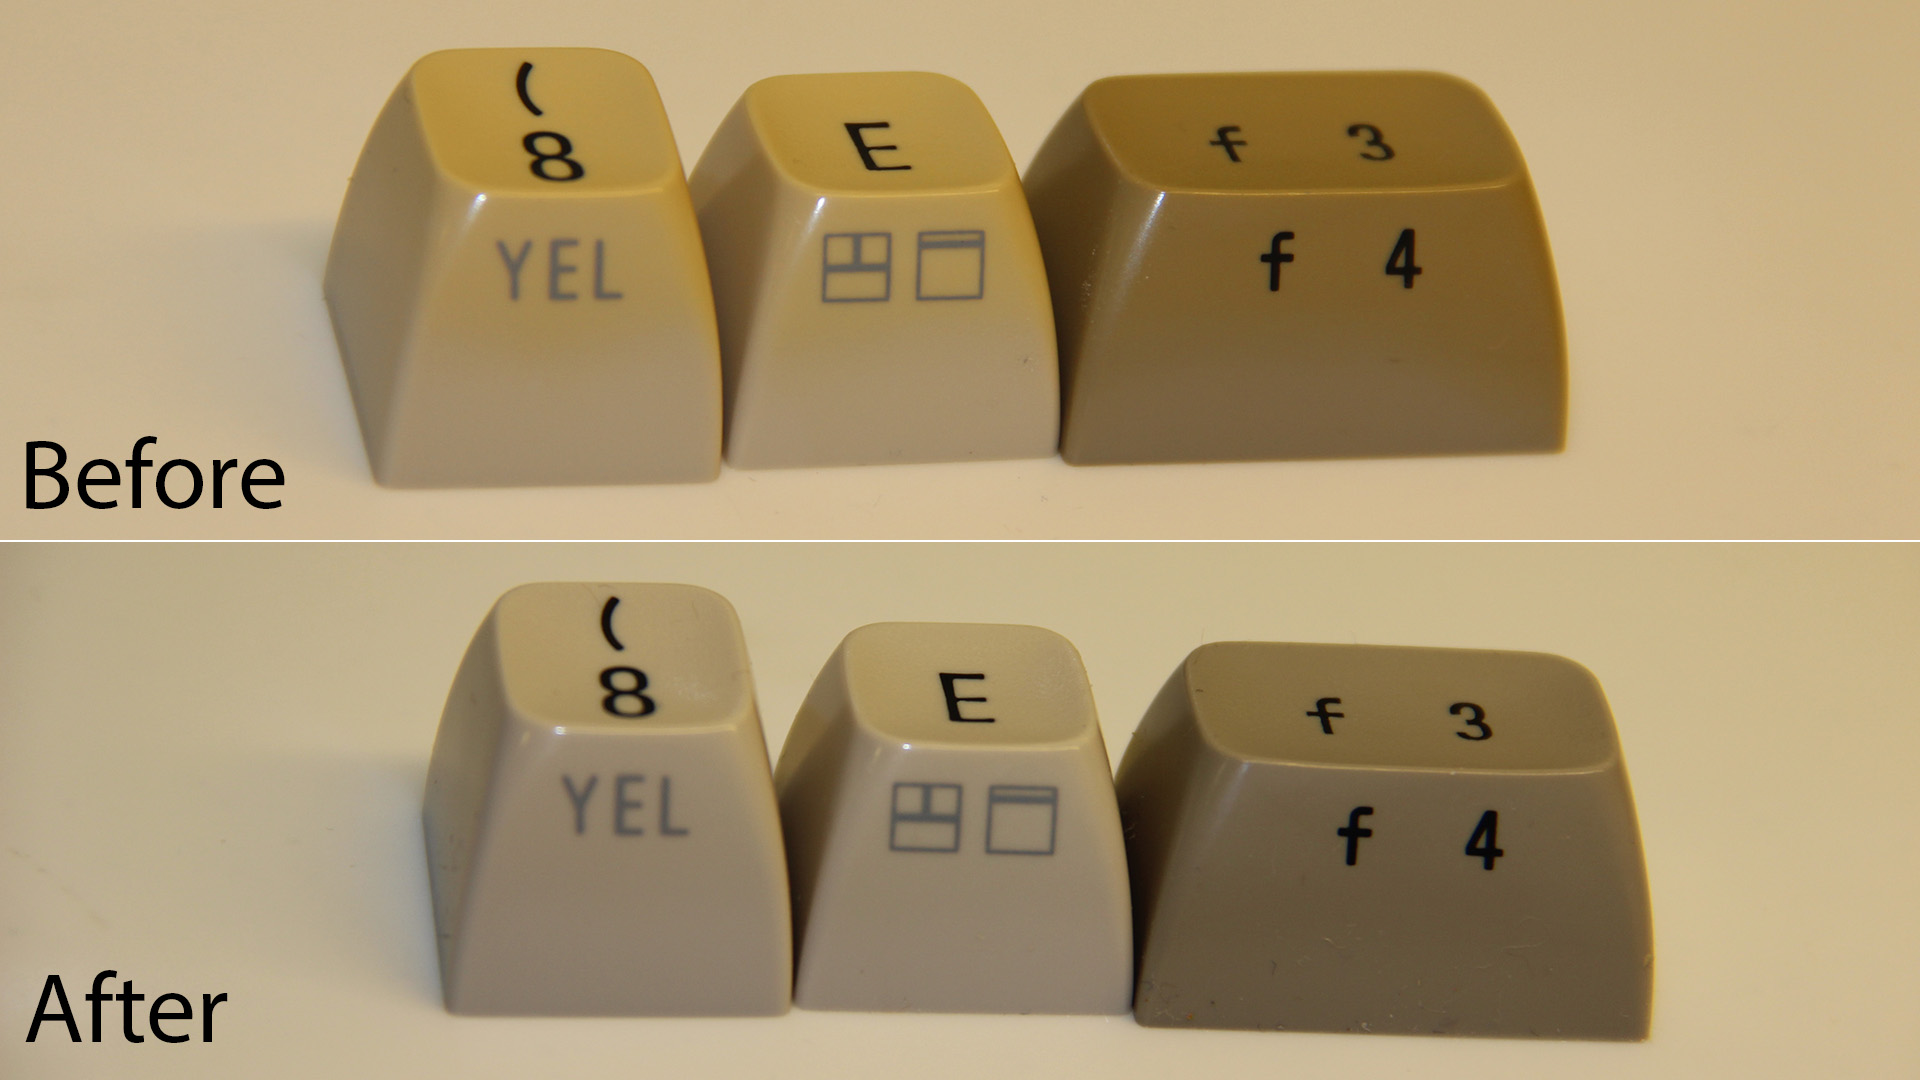
Retr0bright on keycaps
The lower picture clearly shows that all the yellowing on all three keycaps is gone. It’s even noticeable on the dark function-keys (the f3/f4).
Now it was time for doing the same on the case. Luckily, it was sunny this particular day, and I could grab the last hours of sun from my living room. I covered the C64 case with the gel using a brush, and then wrapped it with plastic, and then let it sit under the sun for a couple of hours.
Retr0bright on C64 case
And the end result? It looks fantastic!
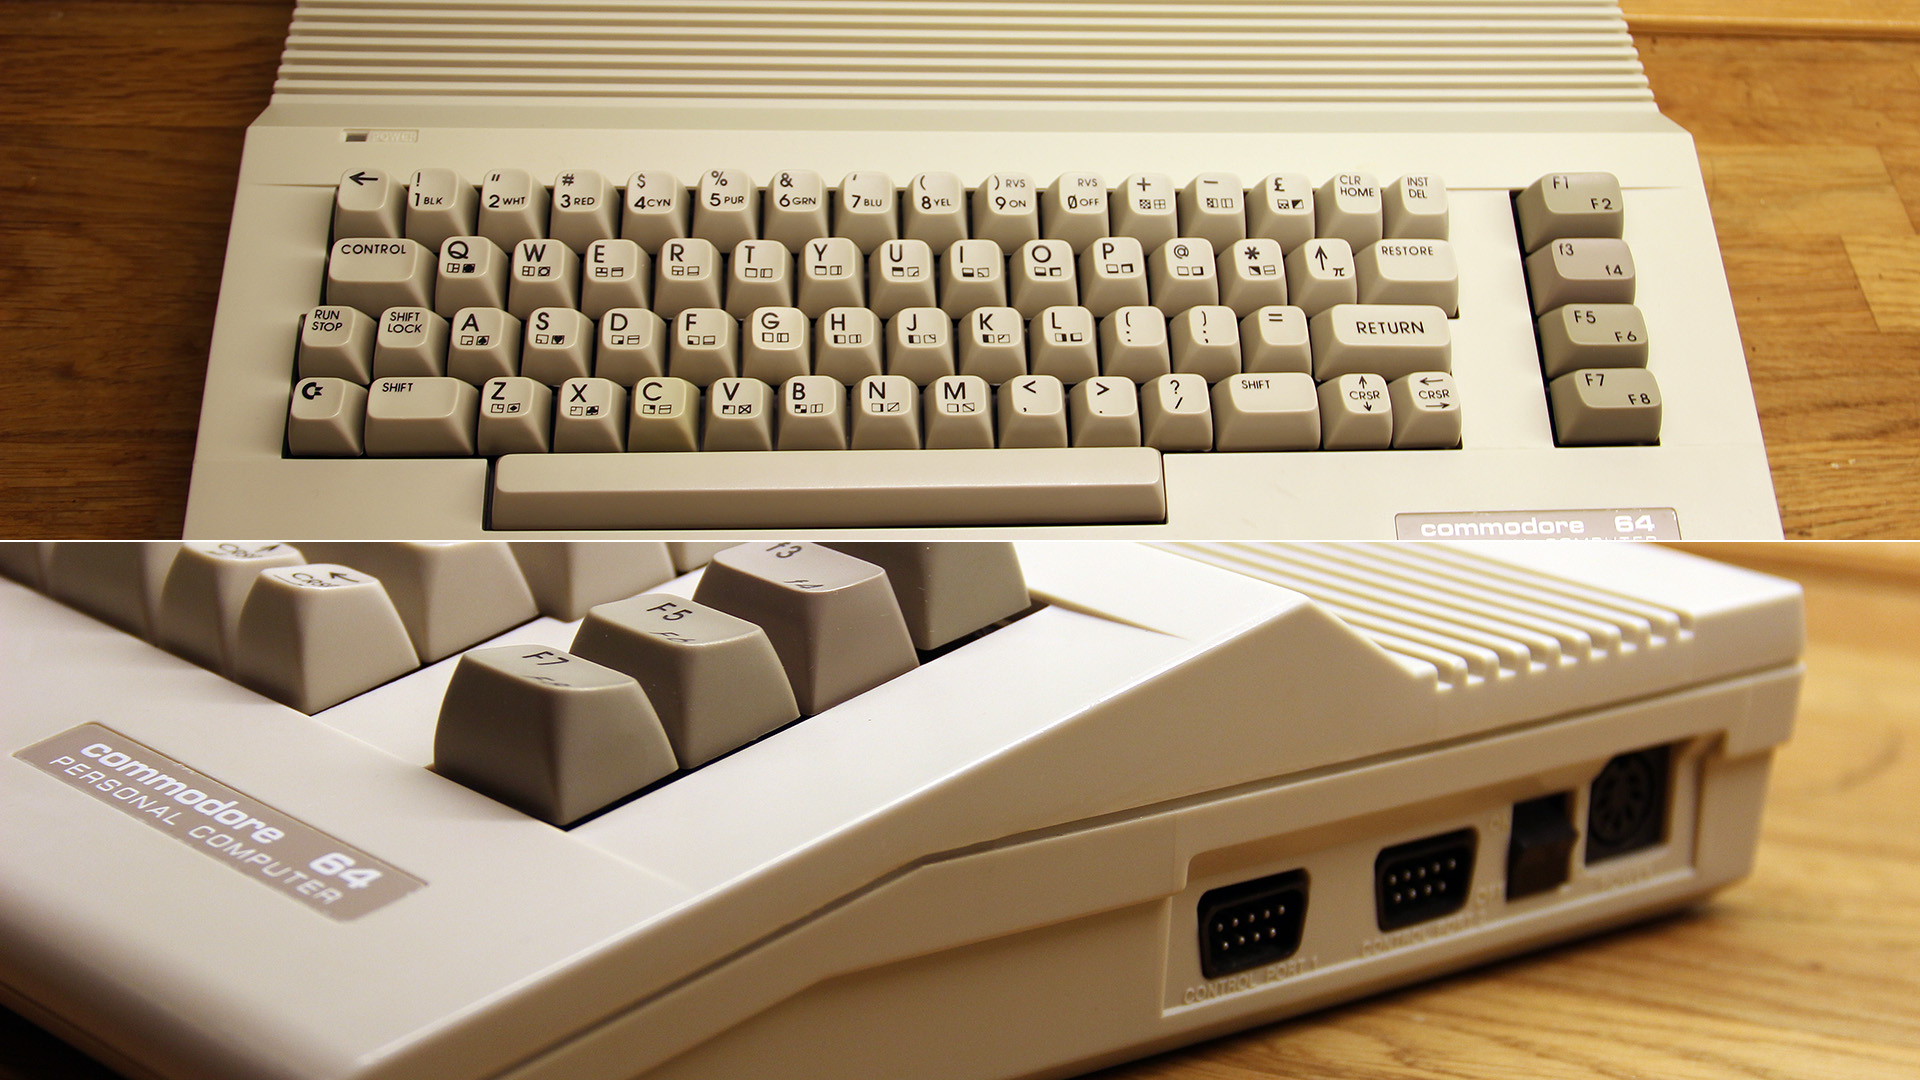
C64 end result
Even though all of this took much longer time than I had anticipated it’s really a nice thing to see a C64 in this restored state. Even though this is one of the most (if not THE MOST) sold computers in the world, they are getting fewer and fewer by the number every year. It was after all 35 years since the C64 was released. Since I restored this C64, I restored a few others – which of especially one had so many electrical failures a lot of the chips had to be replaced and it was quite a hassle to figure out which parts worked and which didn’t. But that’s a story for another post.

Happy Commodore 64
Nice job. Looks like new again. I have yet to try out the Retr0brite method. After seeing this I’ll have to test it out myself.
Nice article, any advice/tips on what is required to connect C64C to a modern monitor?
Thanks! There are many different variants, all with different advantages/disadvantages and price points. I’m running with a cable that converts the proprietary C64 audio/video connector to an S-video + sound and then another adapter that takes that and converts it into HDMI. There is some input-lag, but it works. I suggest to check this thread.
Do you still restore old c64’s? I have one but not sure of how bad it really is. Would love to pay to have it fixed if possible.
Hi Sarah! Not so much unfortunately. Depending on where you live there are forums with people offering this. I would also encourage you to try it yourself.
Either way I recommend this place as a starting point: https://www.lemon64.com/
Hi,
Has the yellowing returned or is the computer still light without yellow color in the plastics?
Hi! No idea as I sold this unit 🙁